
How Do You Prepare Kitchen Cabinets Before Painting?
Preparing kitchen cabinets before painting is a crucial step that can significantly influence the final outcome of your project. Whether you’re looking to refresh the look of your kitchen or increase the value of your home, understanding how to properly prepare your cabinets is essential. This article will guide you through the entire process, offering practical tips, examples, and insights that will empower you to take on this DIY project successfully.
Understanding the Importance of Preparation
Before diving into the details of how to prepare kitchen cabinets, it’s vital to grasp why this preparation is so important. Proper preparation ensures that the paint adheres well, providing a smooth and durable finish. Skipping or rushing through this step can lead to peeling, chipping, or an uneven appearance, which can be frustrating and costly in the long run.

The Benefits of Proper Preparation
- Durability: A well-prepared surface allows the paint to bond effectively, increasing its lifespan.
- Aesthetic Appeal: Smooth surfaces lead to a professional-looking finish, enhancing the overall appearance of your kitchen.
- Cost Efficiency: Taking the time to prepare can save money on touch-ups and repainting in the future.
Step-by-Step Guide to Preparing Kitchen Cabinets for Painting
Now that we understand the importance of preparation, let’s delve into the step-by-step process of getting your kitchen cabinets ready for painting.
Step 1: Gather Your Supplies
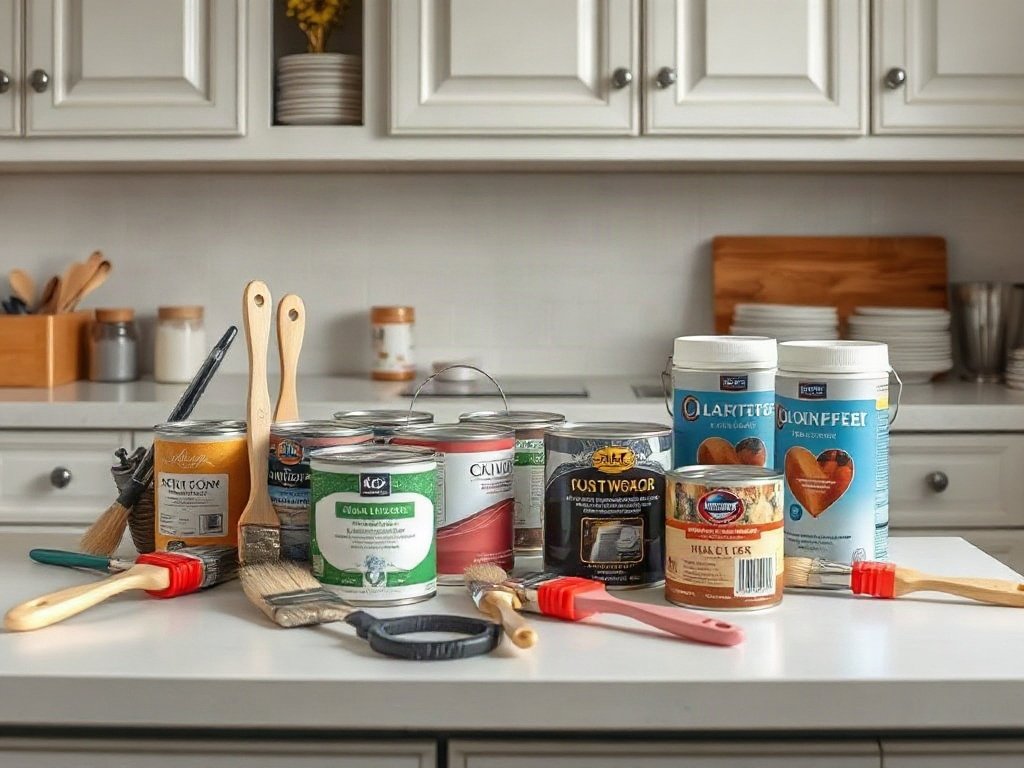
Before starting, collect all the necessary tools and materials. Here’s a list of what you’ll need:
- Screwdriver
- Sandpaper (medium and fine grit)
- Cleaning solution (like TSP or vinegar)
- Rags or paper towels
- Primer
- Paint (preferably semi-gloss or satin finish)
- Paintbrushes and rollers
- Drop cloths
- Masking tape
Step 2: Remove Cabinet Hardware and Doors
Begin by removing all hardware, including knobs, handles, and hinges. This step prevents any obstruction during painting and ensures a clean finish. It’s also advisable to label the hardware and store it in a safe place for reinstallation later.
Step 3: Clean the Surfaces
Once the hardware is removed, thoroughly clean the cabinet surfaces. Use a cleaning solution to remove grease, dirt, and grime. A clean surface is crucial for paint adhesion, ensuring that nothing interferes with the bonding process.
Step 4: Sand the Cabinets
Sanding is a critical step in preparation. It helps to create a rough surface for the paint to adhere to.
- Medium Grit Sandpaper: Start with medium grit (around 120-150) to remove the old finish.
- Fine Grit Sandpaper: Follow up with fine grit (around 220) for a smoother finish.
Make sure to sand in the direction of the wood grain and to remove all dust afterward with a damp cloth.
Step 5: Apply Primer
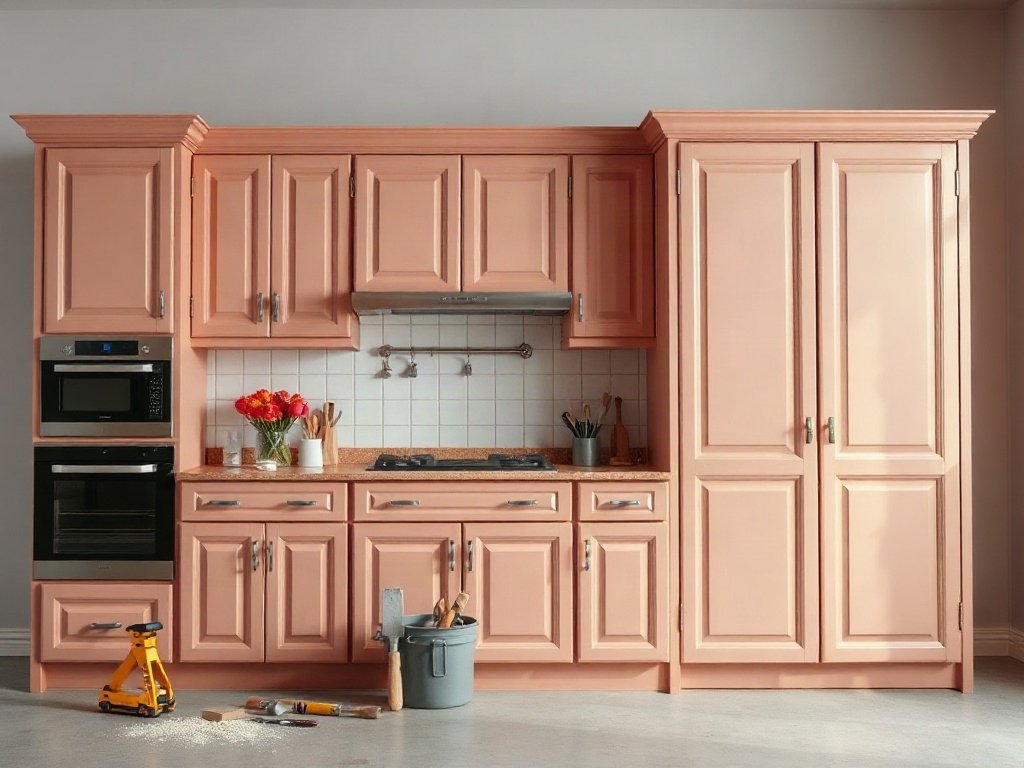
Priming is an essential step that can’t be overlooked. A quality primer prevents stains from bleeding through and ensures even coverage.
- Choose the Right Primer: For wood cabinets, use a high-quality oil-based or water-based primer.
- Application: Use a brush for corners and detailed areas, and a roller for flat surfaces to ensure smooth application.
Step 6: Painting the Cabinets
Once the primer has dried completely, it’s time to paint.
- Choosing Paint: Select a durable paint that can withstand kitchen conditions. Semi-gloss or satin finishes are often preferred for their easy-to-clean surfaces.
- Application Techniques: Use a brush for edges and a roller for larger surfaces. Apply multiple thin coats for the best results, allowing adequate drying time between coats.
Step 7: Reinstall Hardware and Doors
After the final coat of paint has dried completely, it’s time to reattach the hardware and doors. Ensure everything is aligned correctly and that screws are tightened securely.
Advantages and Risks of DIY Kitchen Cabinet Painting
While painting your kitchen cabinets can save you money compared to hiring a professional, it’s important to weigh the advantages and risks involved.
Advantages
- Cost Savings: DIY projects eliminate labor costs, making it a budget-friendly option.
- Customization: You have complete control over color and finish, allowing for personal expression.
- Satisfaction: Completing a project on your own can be incredibly rewarding.
Risks
- Time-Consuming: Preparing and painting cabinets can take longer than expected, especially for beginners.
- Potential for Mistakes: Without experience, it’s easy to make errors that could lead to a less-than-perfect finish.
- Chemical Exposure: Paints and primers can contain harmful chemicals, so proper ventilation and protective gear are essential.
Key Considerations for a Successful Cabinet Painting Project
To ensure a successful cabinet painting project, consider the following:
- Ventilation: Always work in a well-ventilated area to avoid inhaling fumes.
- Patience: Don’t rush the drying process; allow adequate time between coats for best results.
- Quality Materials: Invest in quality paint and primer to achieve a professional finish and durability.
Comparison Table: Types of Paint for Kitchen Cabinets
| Type of Paint | Finish | Durability | Ease of Application | Cost |
|---|---|---|---|---|
| Water-Based | Satin | Moderate | Easy | Moderate |
| Oil-Based | Semi-Gloss | High | Moderate | Higher |
| Chalk Paint | Matte | Low (requires sealing) | Easy | Moderate |
| Lacquer | Gloss | Very High | Difficult | High |
Frequently Asked Questions (FAQ)
What is the best type of paint for kitchen cabinets?
The best type of paint for kitchen cabinets is typically a semi-gloss or satin finish. These finishes provide durability and are easier to clean, making them ideal for high-traffic areas like the kitchen.
How long does it take for paint to dry on kitchen cabinets?
Drying time can vary depending on the type of paint used, humidity, and air circulation. Generally, water-based paints take about 2-4 hours to dry, while oil-based paints may take up to 24 hours. Always check the manufacturer’s instructions for specific drying times.
Can I paint over existing paint on kitchen cabinets?
Yes, you can paint over existing paint, but it’s crucial to prepare the surface properly. This includes cleaning, sanding, and priming to ensure the new paint adheres well and achieves a smooth finish.
See More Articles on Our Website :How Can You Make an Old Kitchen Look More Modern on a Budget?
Conclusion
Preparing kitchen cabinets before painting is a vital process that can lead to stunning results and a more enjoyable kitchen space. By following the outlined steps, you can achieve a professional finish and enhance the value of your home. Remember to take your time, invest in quality materials, and enjoy the transformation of your kitchen. What are your thoughts on this DIY project? Have you painted your cabinets before, or are you considering it? Share your experiences in the comments below!

Ana Sabrina Viana is the creator and author of the blog *Fix My Home & Garden*, where she shares practical tips, inspiration, and solutions for home and garden maintenance, organization, décor, and care. Passionate about creating functional and welcoming environments, she produces content that helps readers transform their spaces in simple, accessible, and creative ways.