
Imagine this: You’re redecorating your living room and suddenly notice an unsightly hole in the wall, a glaring imperfection amidst your newly envisioned space.
This is a common scenario for many homeowners, and it can feel daunting to tackle on your own.
However, through my experience working with countless individuals in transforming their homes, I’ve discovered that repairing wall holes can be simple and satisfying when approached correctly.
The key is to understand the steps and have the right tools on hand.
Quick Facts Summary:
1. Small wall holes can be repaired with simple tools like spackling paste and a putty knife.
2. Larger holes may require a patch kit or drywall replacement.
3. Proper sanding and priming ensure a smooth, paint-ready surface.
Assessing the Damage
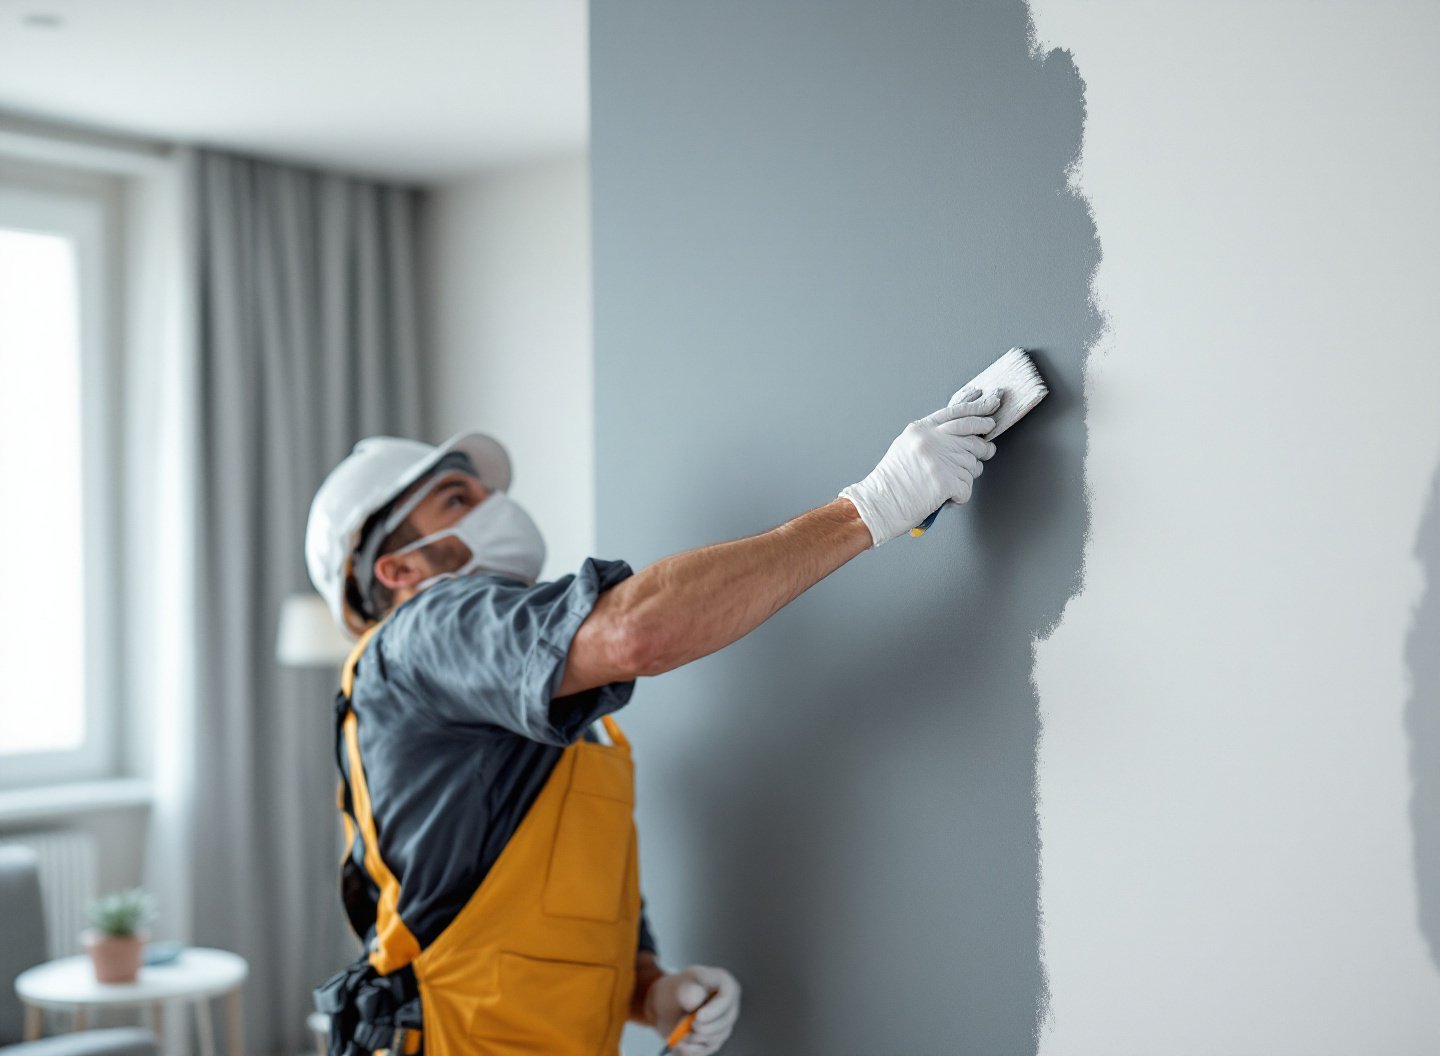
Before diving into repairs, it’s crucial to assess the size and nature of the hole. Small holes, such as those left by nails or screws, are straightforward to fix.
In contrast, larger holes, often caused by accidental impacts or plumbing repairs, require more extensive work. Begin by measuring the hole and inspecting for any underlying structural damage, which might necessitate professional intervention.
For minor holes, spackling paste is your go-to solution. It’s easy to apply and dries quickly, making it perfect for small repairs. For larger holes, consider using a drywall patch kit, which typically includes a mesh patch and joint compound.
These kits provide a stable base for further repairs, just like when you’re piecing together a puzzle.
Gathering Your Tools
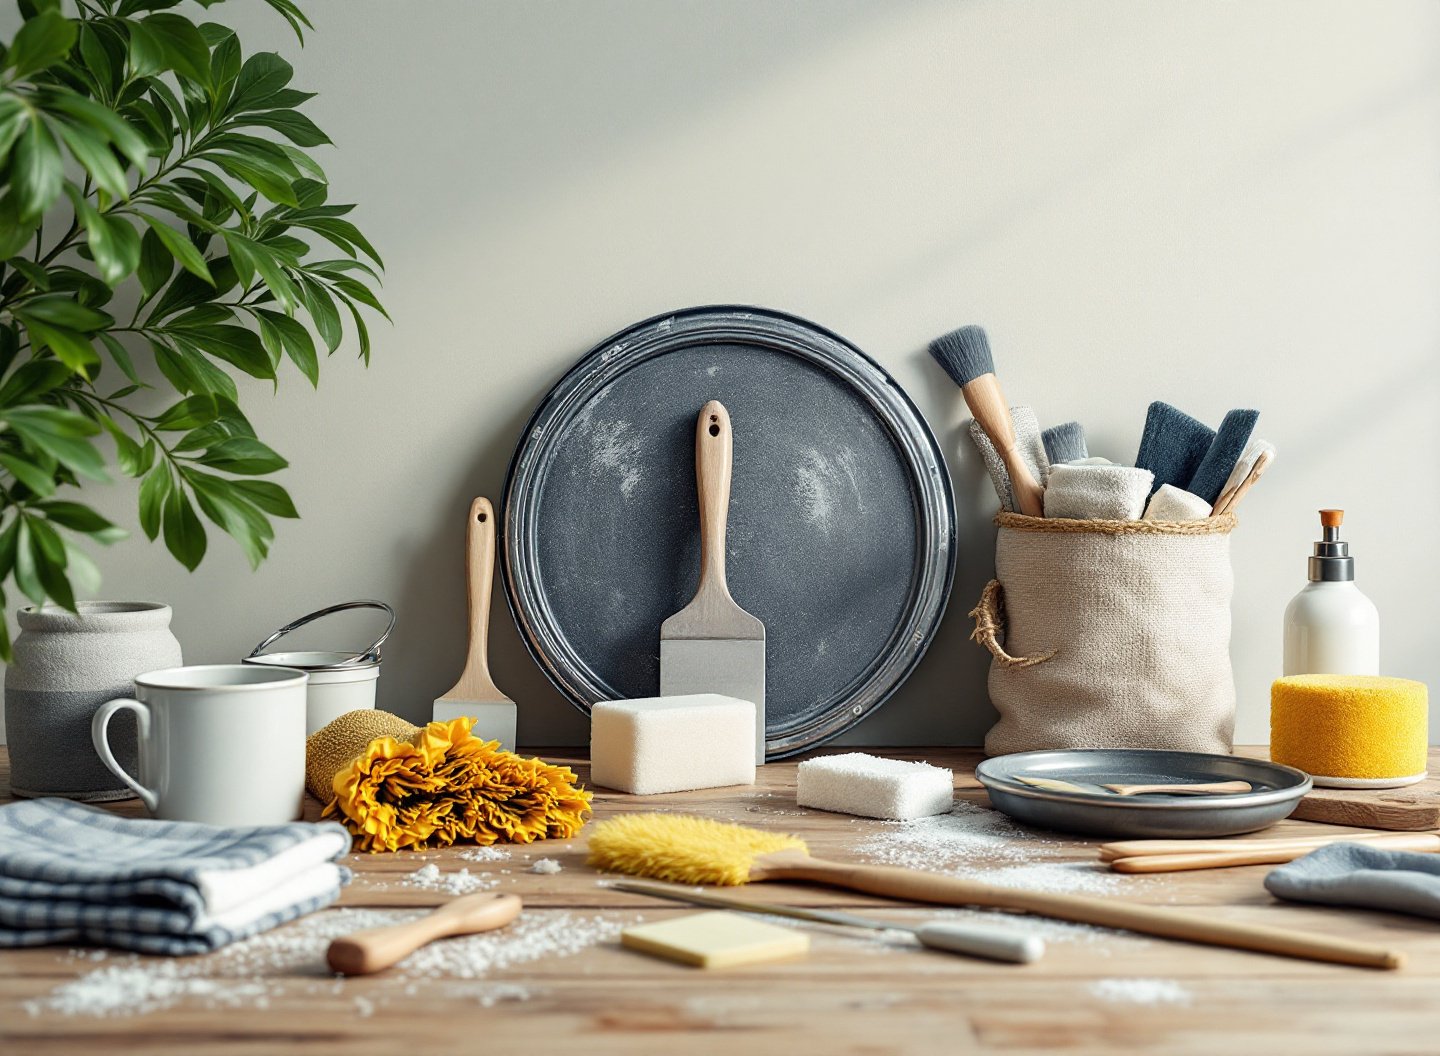
A successful repair requires the right tools. For small holes, equip yourself with spackling paste, a putty knife, sandpaper, and a primer.
Larger repairs will need a drywall saw, patch kit, joint compound, and possibly a piece of drywall for replacement. Ensuring you have these items on hand before starting will streamline the repair process and reduce the likelihood of interruptions.
- Putty Knife: Essential for applying spackling paste smoothly.
- Sandpaper: Used to create a seamless finish.
- Primer: Prepares the surface for painting, ensuring even color.
- Drywall Patch Kit: Includes necessary materials for larger holes.
Step-by-Step Repair Process
Now, let’s break down the repair process into manageable steps:
1. Clean the Area
Before applying any material, clean the area around the hole. Remove any dust and debris to ensure the materials adhere properly. This is especially important for larger repairs, where stability is crucial.
2. Apply Spackling Paste or Patch
For small holes, use a putty knife to evenly apply spackling paste over the hole, feathering the edges to blend with the wall. For larger holes, place the patch over the hole, ensuring it’s centered and secure, then cover with joint compound.
3. Sand the Surface
Once the applied material is fully dry, sand the area until it’s smooth and flush with the surrounding wall. This step is vital for a professional finish, as it prevents any raised areas from showing through the paint.
It’s like giving your wall a fresh start.
4. Prime and Paint
Apply a coat of primer to the repaired area to ensure the paint adheres evenly. Once the primer is dry, paint over the repair, matching the existing wall color. Multiple coats may be necessary for complete coverage.
Comparative Tools and Materials
Understanding the differences between tools and materials can help in selecting the right options for your repair needs.
| Tool/Material | Best For | Tip |
|---|---|---|
| Spackling Paste | Small holes | Opt for quick-dry formulas for faster repairs. |
| Drywall Patch Kit | Larger holes | Ensure mesh is securely attached for stability. |
| Primer | Pre-paint preparation | Use stain-blocking primer for best results. |
Conclusion
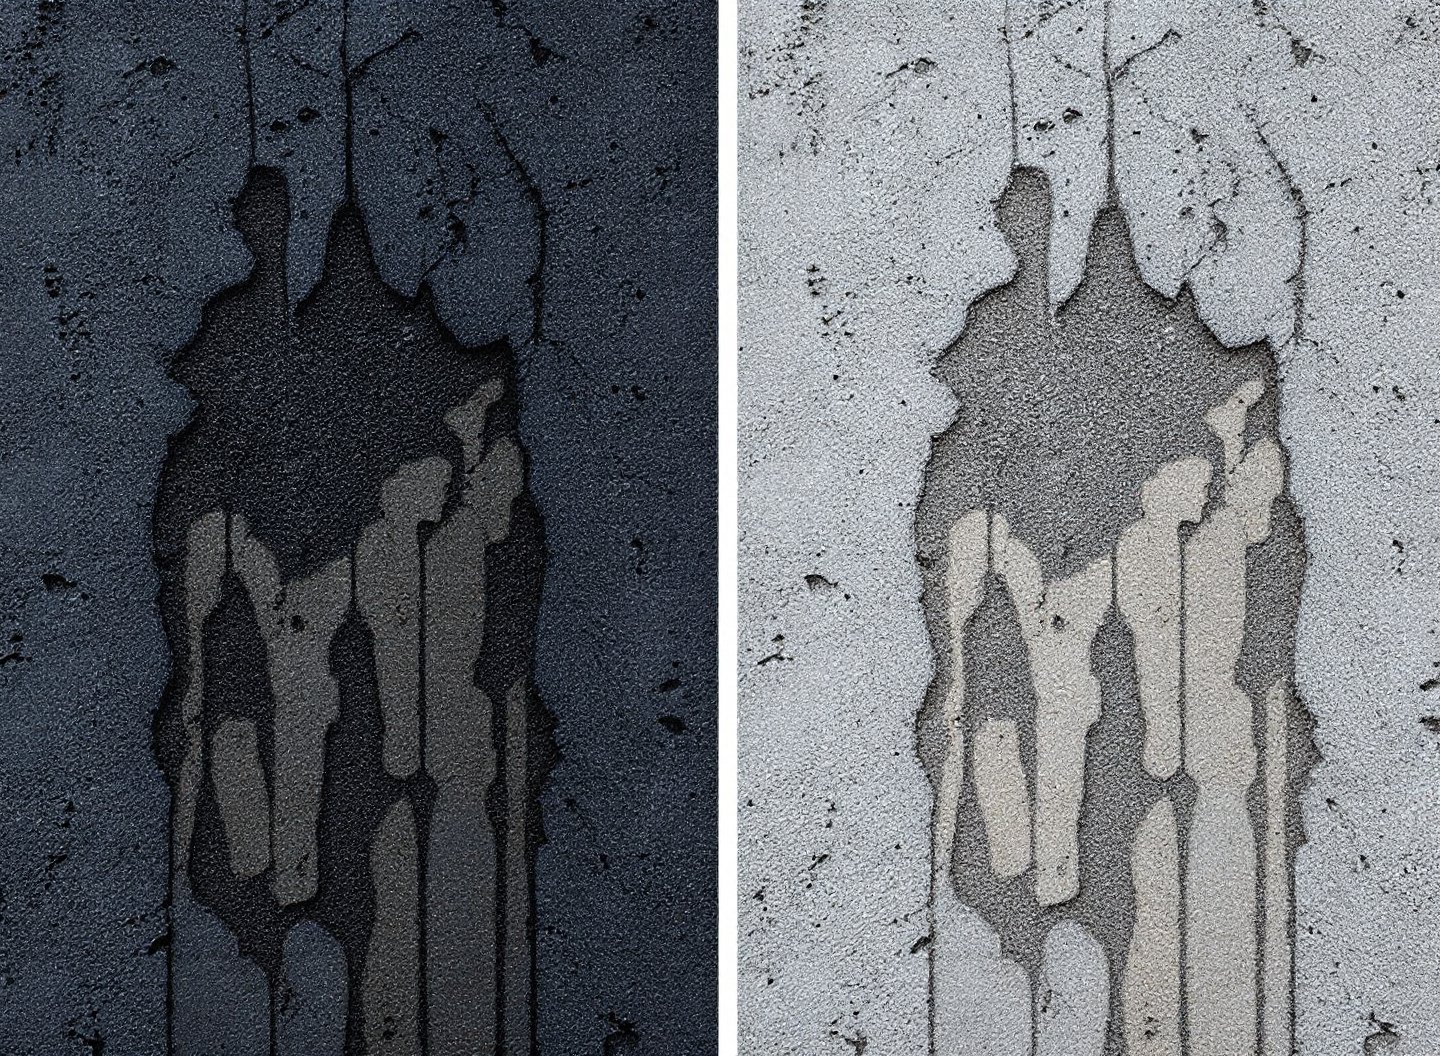
Repairing wall holes may seem daunting at first, but with the right approach and tools, it becomes a manageable task that can significantly enhance your living space.
Mastering these repair techniques empowers you to maintain and beautify your home independently.
Now that you know how to tackle wall repairs confidently, why not share this guide on WhatsApp or Telegram with friends who might also benefit from these DIY skills?
Frequently Asked Questions (FAQ)
How long does it take for spackling paste to dry?
Spackling paste typically dries within 1-2 hours, but it’s best to refer to the manufacturer’s instructions for specific drying times.
Can I paint directly over joint compound?
It’s recommended to prime the area first to ensure the paint adheres properly and achieves an even finish.
What if the patch doesn’t stick properly?
If the patch doesn’t adhere, ensure the surface is clean and dry, and consider using an adhesive spray for extra grip.
Is it necessary to sand between coats of joint compound?
Yes, sanding between coats helps achieve a smooth finish and ensures each layer blends seamlessly with the wall.
ENTREGA FINAL (META TAGS): No final de tudo, gere os seguintes metadados:
- Meta Title: DIY Wall Hole Repair: Step-by-Step Guide
- Meta Description: Learn how to repair wall holes easily. Step-by-step guide included!
- Descrição LLMs: Master wall repairs with our comprehensive guide. From small spackling tasks to larger drywall patches, learn techniques to restore walls seamlessly. Perfect for homeowners keen on DIY repairs, ensuring professional finishes every time.
- Tags: DIY, wall repair, home improvement, spackling, drywall patch, painting tips, repair guide
Perguntas Frequentes (FAQ)
How long does it take for spackling paste to dry?
Can I paint directly over joint compound?
What if the patch doesn’t stick properly?
Is it necessary to sand between coats of joint compound?

Ana Sabrina Mariane Viana is the creator of Fix My Home & Garden, a blog dedicated to sharing practical tips, step-by-step guides, and expert advice on home maintenance, gardening, organization, home improvement, and décor. Her goal is to help readers create more comfortable, functional, and beautiful living spaces by providing clear, reliable, and easy-to-follow content for everyday home and garden projects.