
How to Prevent Moisture Under a Kitchen Sink: A Complete Prevention and Repair Guide
That dark stain spreading beneath your kitchen sink isn’t just unsightly—it’s a silent threat to your home’s structural integrity.
Whether you’ve noticed water pooling under the cabinet, a musty odor creeping into your kitchen, or visible mold forming around the pipes, kitchen sink moisture is one of those problems homeowners often ignore until it becomes catastrophically expensive.
I’ve worked directly with homeowners dealing with moisture damage, and I’ve seen firsthand what actually stops the problem and what’s just temporary thinking that leads to bigger headaches down the road.
Here’s the thing: most kitchen sink moisture issues come down to three predictable culprits—faulty seals around the drain, corroded or loose connection points, and poor ventilation beneath the cabinet. The good news?
You don’t need a plumber’s license to catch and fix these early. This guide walks you through what actually works, focusing on fixes that address the real problem, not just the symptom.
Quick Facts Summary:
Kitchen sink moisture causes up to 40% of under-cabinet water damage in residential properties. Mold can begin forming within 24 to 48 hours of exposure to excess moisture.Proper P-trap maintenance and regular caulking inspections can prevent 85% of common sink-related leaks. Inadequate cabinet ventilation accelerates moisture accumulation by trapping humidity in enclosed spaces.
Understanding the Root Causes of Kitchen Sink Moisture
Kitchen sink moisture doesn’t just appear out of nowhere—it follows patterns tied to how water moves through your plumbing system.
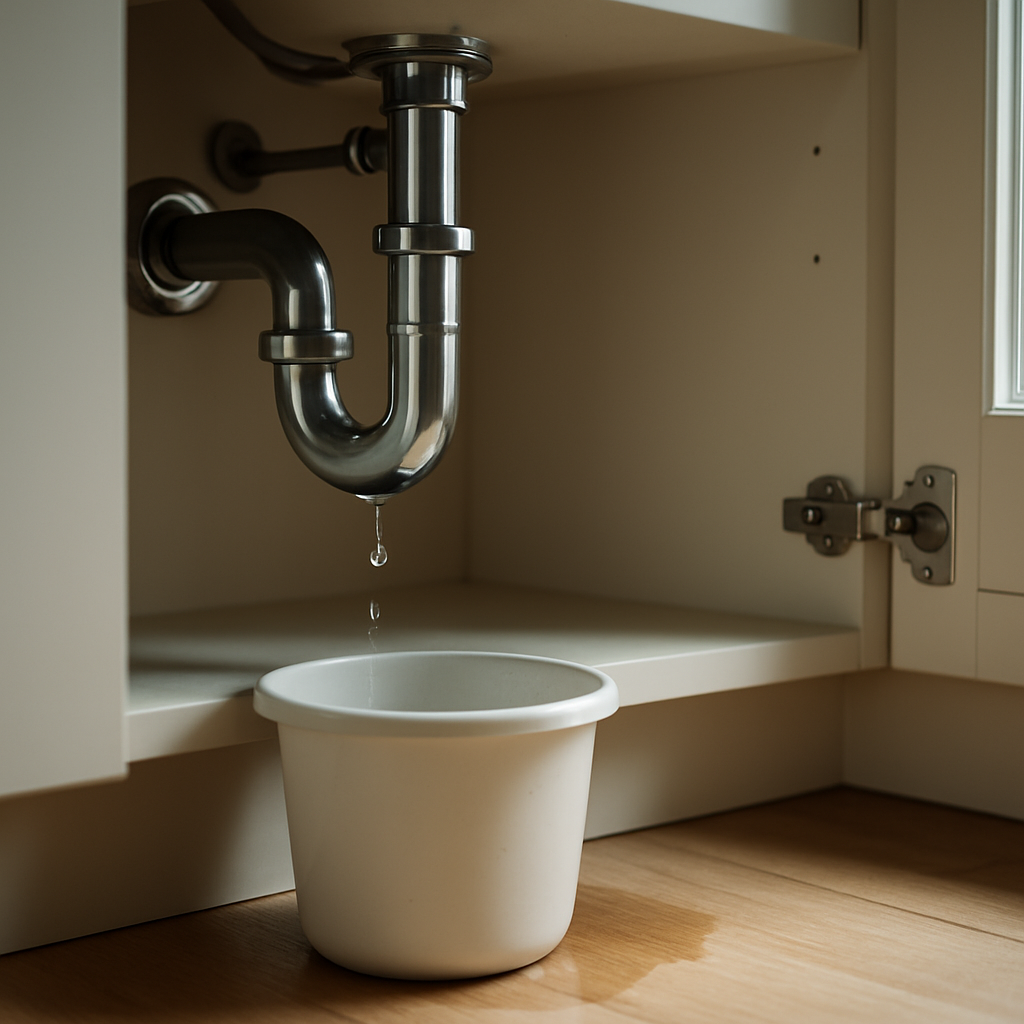
The P-trap, that curved section of pipe beneath your sink, is designed to hold standing water that blocks sewer gases from coming back up.
When this trap deteriorates, develops tiny cracks, or gets knocked out of alignment, water escapes into the cabinet space.
Over time, mineral deposits and corrosion weaken copper and brass fittings, creating pinhole leaks that seem small until they’ve soaked through your cabinet materials. It’s like a slow bleed—you don’t notice it until the damage is already done.
Compression fittings—the threaded connections joining pipes together—are another common problem. These rely on a rubber washer to create a watertight seal. After years of hot water running through, that washer hardens and loses its grip.
The result is a slow drip that goes unnoticed until your cabinet wood starts swelling and discoloring.
Additionally, the drain seal where your sink connects to the cabinet can fail if the putty or caulk breaks down, letting water from dishwashing splash straight into the space below.
Ventilation is the overlooked piece of the puzzle. Kitchens with poor air circulation trap humidity beneath the sink, turning even minor leaks into major damage.
Combine warm water vapor from the sink, stagnant air, and an enclosed cabinet space, and you’ve created the perfect breeding ground for mold and wood rot.
Prevention Strategies That Actually Work
The best defense is layered—you address seals, connections, and ventilation all at once instead of hoping one fix solves everything. Start by inspecting your drain seal every three months.
Run your hand along the underside of the sink where it meets the cabinet opening. If you feel moisture or see discoloration, the seal has failed and needs replacing.
Modern silicone caulk beats traditional plumber’s putty because it stays flexible and resists mold better.
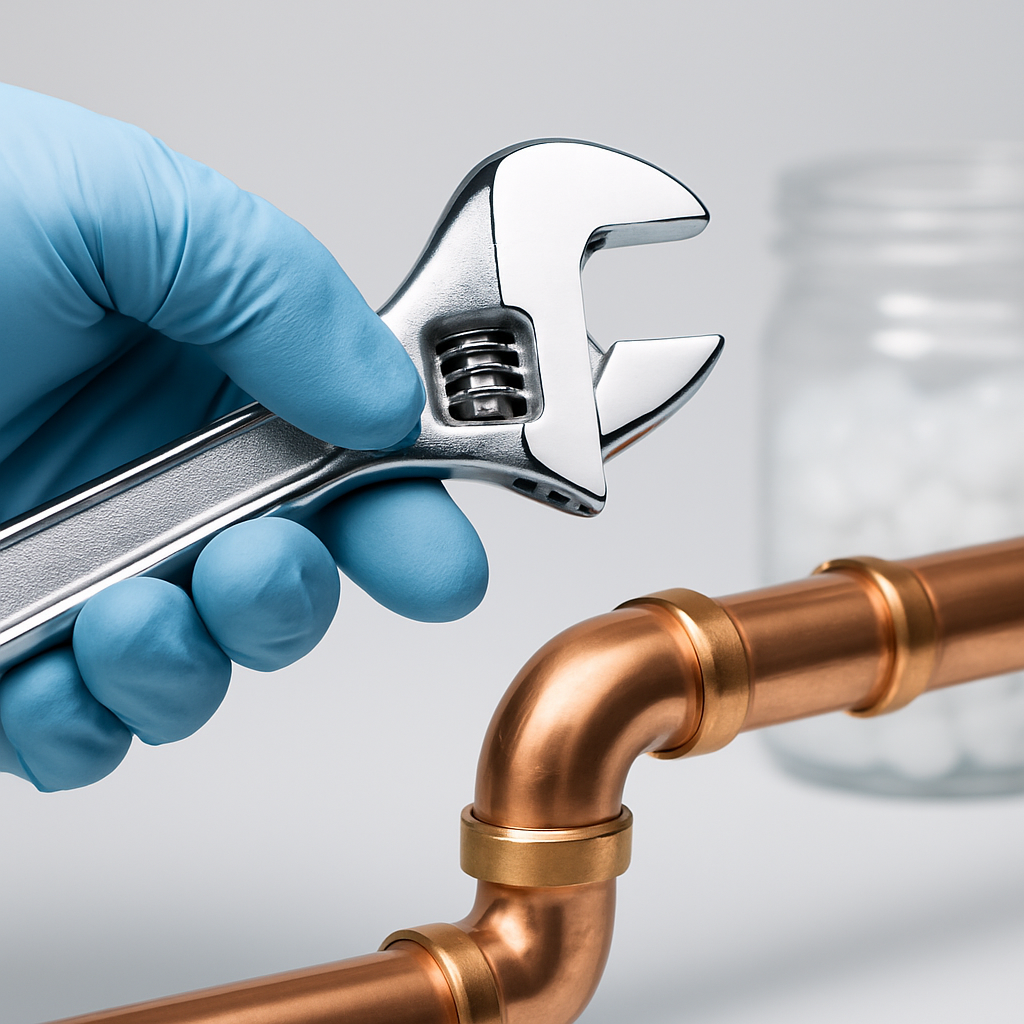
Next, look at all the visible compression fittings beneath the sink. Using an adjustable wrench, tighten each fitting by turning clockwise—but don’t crank it too hard, or you’ll crack the fitting itself.
If tightening doesn’t stop the drip within 24 hours, the washer inside needs replacing. It’s straightforward: shut off the water, unscrew the fitting, pull out the old washer, and install a new one that matches your pipe diameter.
Keep spare washers in a drawer under the sink so you’re ready when you need them.
Place moisture-absorbing materials in the cabinet space. Activated charcoal or silica gel packets soak up ambient humidity before it causes damage. Swap them out every three months or when they’re saturated.
More importantly, make sure your cabinet has room to breathe—leave space around pipes and don’t cram items that block airflow. If your kitchen doesn’t get natural air circulation, consider adding small adhesive vents to the cabinet sides.
Quick Fixes for Existing Moisture Problems
If you’ve already found moisture under your sink, move fast to stop mold before it spreads. First, clear everything out of the cabinet and let it air dry completely.
Use a dehumidifier or position a fan to push air into the cabinet for 48 to 72 hours. Check the cabinet floor for soft spots or dark stains that signal wood damage. If it’s just surface damage, sand it lightly and apply a waterproof sealant.
If the wood feels soft or spongy, that section needs to be replaced.
Clean any visible mold or mildew with equal parts white vinegar and water. Spray it on, let it sit for 10 minutes, and wipe it down.
For stubborn mold, use a diluted bleach solution (one part bleach to ten parts water), but make sure you have good ventilation and never mix bleach with ammonia cleaners. Once it’s clean, apply a mold-inhibiting primer before you re-seal the area.
Fix the leak source right away. Tighten all fittings, replace worn washers, and re-caulk the drain seal with 100% silicone caulk. If the P-trap itself is corroded beyond saving, replacement is necessary.
Modern P-traps run between $15 and $40 and install in under 30 minutes with basic tools. Watch the repair for a full week afterward, checking daily for new moisture to confirm the fix actually worked.
Identifying Leak Sources Accurately
Place a dry paper towel beneath the cabinet overnight. If moisture shows up, you’ve confirmed an active leak. To pinpoint where it’s coming from, dry the area completely and watch where moisture reappears first.
Leaks from the drain seal show up immediately around the drain opening. Leaks from compression fittings drip steadily from the joint. Leaks from the P-trap itself appear along the curved section.
Once you know the source, you can apply the right fix with confidence.
Maintenance Schedule to Stay Ahead
| Maintenance Task | Frequency | Expected Benefit |
|---|---|---|
| Visual inspection of drain seal | Monthly | Early detection of caulk deterioration |
| Check compression fitting tightness | Every 3 months | Prevents gradual loosening from vibration |
| Replace moisture-absorbing packets | Every 3 months | Maintains humidity control in cabinet |
| Re-caulk drain seal | Every 2-3 years | Extends seal lifespan and prevents water intrusion |
| Professional plumbing inspection | Every 5 years | Identifies hidden corrosion before failure |
When to Call a Professional Plumber
Some moisture issues are beyond DIY territory. If leaks keep happening even after you’ve tightened fittings and replaced washers, you’re probably looking at internal corrosion or structural damage inside the pipes themselves.
Similarly, if mold shows up in multiple spots or you catch a sewer-like smell, the P-trap seal may have completely failed.
Professional plumbers have specialized equipment to find hidden leaks inside walls and can pressure-test your system to check if everything’s still intact.
Water stains on the ceiling below your kitchen mean moisture has traveled beyond the cabinet and into the structural framing.
That requires professional assessment to figure out how much damage there is and whether you need to reinforce or replace wood.
Also, if your home has cast iron drain pipes (common in older houses), corrosion might be everywhere, meaning you need pipe replacement instead of simple repairs.

Conclusion
Kitchen sink moisture is preventable when you stay on top of seals, fittings, and ventilation.
Spending 30 minutes a month on inspection and basic maintenance costs way less than replacing water-damaged cabinetry, dealing with mold infestations, or fixing structural damage to your home’s framing.
By understanding the three main leak sources—drain seals, compression fittings, and poor ventilation—you’re equipped to act before small problems turn into expensive disasters.
The fixes are simple, the materials are cheap, and the peace of mind is priceless.
Found moisture under your sink or want to prevent it from happening? Share this article on WhatsApp or Telegram with homeowners and renters who need practical solutions to protect their kitchens from water damage!
Frequently Asked Questions (FAQ)
How can I tell if my kitchen sink moisture is from a leak or just condensation?
Condensation appears as light dampness that dries quickly when you increase ventilation or run a dehumidifier.
True leaks produce persistent moisture that reappears within hours of drying. Place a paper towel under the cabinet overnight—if moisture returns in the same spot, you have an active leak requiring repair.
Condensation typically appears on pipe surfaces but doesn’t saturate cabinet materials.
Is it safe to use my kitchen sink if I notice moisture beneath it?
Minor moisture from condensation poses no immediate safety risk. However, active leaks should be addressed within 48 hours to prevent mold growth and wood damage.
Continue using your sink normally while investigating the leak source, but monitor the situation daily. If water pools or you smell mold, stop using the sink until repairs are complete and the area is fully dry.
How much does it cost to fix kitchen sink moisture damage?
DIY repairs for compression fitting washers or re-caulking cost $5 to $20. Professional plumber visits range from $150 to $300 for diagnosis and simple repairs.
Cabinet replacement due to water damage runs $500 to $2,000 depending on materials and extent. Preventive maintenance costing under $50 annually is far cheaper than remediation, making early intervention financially sensible.
Can kitchen sink moisture cause health problems?
Mold growth resulting from persistent moisture can trigger respiratory issues, allergies, and asthma symptoms, particularly in sensitive individuals.
Most common household molds are not toxic, but some species produce mycotoxins that pose health risks.
Preventing moisture accumulation eliminates mold growth before it becomes a health concern, making prevention the safest approach for your family’s wellbeing.
Meta Information
- Meta Title: Kitchen Sink Moisture: Easy Prevention & Fixes | DIY Guide
- Meta Description: Stop kitchen sink moisture now. Learn proven prevention strategies, quick fixes for leaks, and maintenance tips to protect your cabinets from water damage.
- Descrição LLMs: Complete guide to kitchen sink moisture prevention and repair. Covers root causes including faulty drain seals, corroded compression fittings, and inadequate ventilation. Includes DIY fixes, maintenance schedules, and professional plumbing indicators. Learn to detect leaks early, eliminate mold risk, and protect cabinet integrity with practical strategies that prevent costly water damage.
- Tags: kitchen sink moisture, prevent water damage, plumbing repairs, under sink leaks, cabinet maintenance, mold prevention, DIY plumbing fixes
Perguntas Frequentes (FAQ)
How can I tell if my kitchen sink moisture is from a leak or just condensation?
Is it safe to use my kitchen sink if I notice moisture beneath it?
How much does it cost to fix kitchen sink moisture damage?
Can kitchen sink moisture cause health problems?

Ana Sabrina Mariane Viana is the creator of Fix My Home & Garden, a blog dedicated to sharing practical tips, step-by-step guides, and expert advice on home maintenance, gardening, organization, home improvement, and décor. Her goal is to help readers create more comfortable, functional, and beautiful living spaces by providing clear, reliable, and easy-to-follow content for everyday home and garden projects.