
How Do You Install Peel-and-Stick Backsplash Tiles?
If you’re looking to enhance your kitchen or bathroom without breaking the bank, installing peel-and-stick backsplash tiles might be the perfect solution. This DIY project not only adds a touch of style but can also increase the value of your home. In this guide, you will learn everything you need to know about installing these tiles, including the tools required, step-by-step instructions, advantages, potential pitfalls, and tips for a successful installation.
Understanding Peel-and-Stick Backsplash Tiles
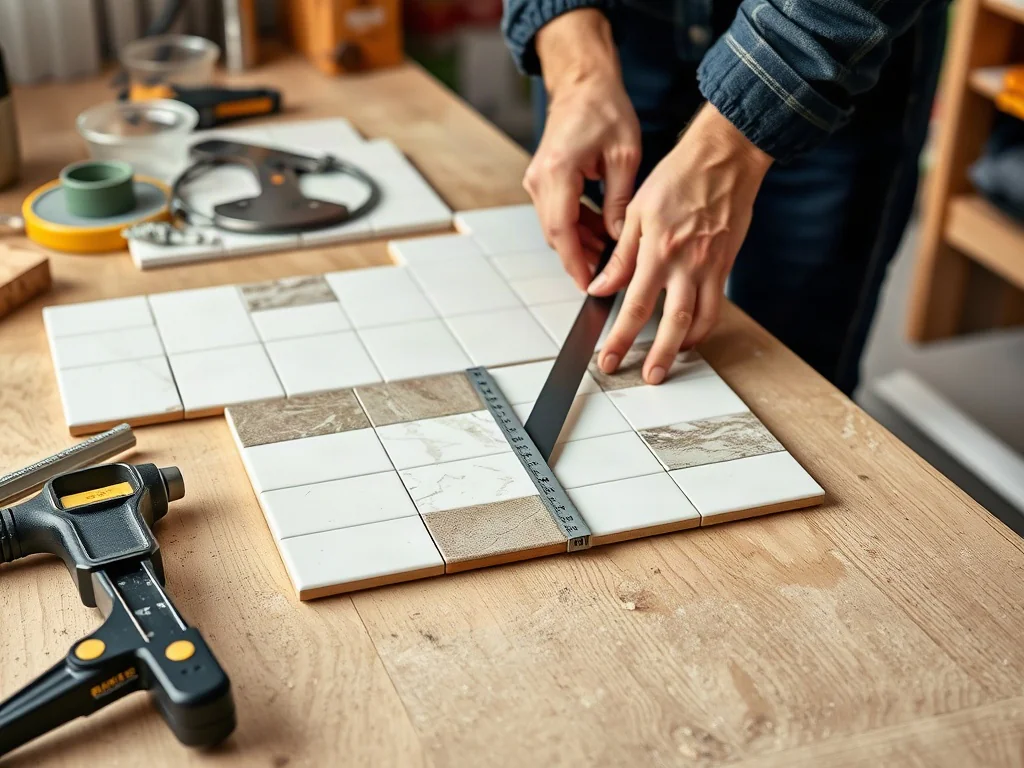
Peel-and-stick backsplash tiles are an innovative home improvement solution that simplifies the process of adding a decorative element to your walls. Unlike traditional tiles that require adhesive, grout, and often professional installation, peel-and-stick tiles come with a self-adhesive backing. This means that you can apply them directly to your wall without the need for complicated tools or materials.
What Are Peel-and-Stick Backsplash Tiles?
Peel-and-stick tiles are made from various materials, such as vinyl, metal, or glass. They come in an array of designs, colors, and finishes, allowing you to customize your space according to your style preferences. The self-adhesive backing makes them easy to use, and they are perfect for renters or homeowners looking for a temporary solution.
Benefits of Using Peel-and-Stick Tiles
- Ease of Installation: One of the most significant advantages is that they are incredibly easy to install, making them ideal for DIY enthusiasts.
- Cost-Effective: Compared to traditional backsplash materials, peel-and-stick tiles are generally more affordable.
- Variety of Designs: They come in numerous designs and finishes, allowing you to achieve the desired aesthetic without the premium cost.
- Removability: Many peel-and-stick tiles can be removed without damaging the underlying surface, which is a significant benefit for renters or those who like to change their decor frequently.
Preparing for Installation
Before you begin installing peel-and-stick backsplash tiles, proper preparation is crucial. Taking the time to prepare your workspace and materials will save you a lot of headaches later on.
Tools and Materials Needed
Here’s a list of tools and materials you will need for the installation:
- Peel-and-stick backsplash tiles
- Measuring tape
- Utility knife or scissors
- Straight edge or ruler
- Level
- Cleaning supplies (soap, water, and a cloth)
- Pencil or marker for marking
- Optional: Grout for added detail (if desired)
Preparing the Wall Surface
- Clean the Surface: Ensure that the wall surface is clean, dry, and free of grease or dust. Use a mixture of soap and water to wipe down the area where you will be applying the tiles.
- Check for Smoothness: Make sure the wall is smooth. If there are any bumps or imperfections, consider sanding them down to ensure a flat surface.
- Measure and Mark: Use your measuring tape to determine the area where the tiles will be installed. Mark the top corner of your backsplash area with a pencil.
Step-by-Step Guide to Installing Peel-and-Stick Backsplash Tiles
Now that your materials are ready and the wall is prepared, it’s time to install your peel-and-stick backsplash tiles. Follow these steps for a seamless installation.

Step 1: Measure and Cut the Tiles
- Measure the Area: Start by measuring the width and height of the area where you will install the tiles.
- Cut Tiles as Necessary: If your wall has outlets or corners, measure and cut the tiles accordingly using a utility knife. Always double-check your measurements before cutting.
Step 2: Start at the Bottom
- Position the First Tile: Begin installation at the bottom of your designated area. Align the first tile with the bottom edge of your marked area.
- Peel Off the Backing: Carefully peel off the protective backing from the tile. Avoid touching the adhesive side to maintain its stickiness.
Step 3: Apply the Tile
- Press Firmly: Place the tile onto the wall and press firmly, starting from the center and moving outward to avoid air bubbles.
- Use a Level: After applying the tile, use a level to ensure it is straight. Adjust as needed before the adhesive sets.
Step 4: Continue Installing
- Repeat the Process: Continue applying tiles row by row, ensuring that you stagger the seams of the tiles for a more natural look.
- Cut Tiles for Edges: For edges and corners, measure and cut tiles as needed to fit snugly.
Step 5: Finishing Touches
- Inspect the Installation: Once all tiles are in place, inspect for any gaps or misalignments. Press down on any areas that may not have adhered properly.
- Optional Grouting: If desired, you can apply a grout-like substance around the edges of the tiles for a more finished look. Follow the manufacturer’s instructions for application.
Advantages and Risks of Peel-and-Stick Backsplash Tiles
While peel-and-stick backsplash tiles offer many benefits, it’s essential to understand both the advantages and potential risks of this DIY project.
Advantages
- User-Friendly: Perfect for beginners, the installation process requires no special skills or tools.
- Cost Savings: You save money by not hiring a professional and by avoiding expensive materials.
- Design Flexibility: Easy to change your decor, allowing you to update your kitchen or bathroom style whenever you wish.
Potential Risks
- Durability Concerns: Depending on the brand and material, some peel-and-stick tiles may not hold up against moisture or heat over time.
- Surface Damage: If not removed carefully, some tiles may damage the paint or drywall when taken off.
- Limited Lifespan: Unlike traditional tiles, peel-and-stick options may need to be replaced more frequently.
Maintenance and Care for Your Peel-and-Stick Backsplash
To ensure the longevity and appearance of your peel-and-stick backsplash tiles, follow these maintenance tips:
- Regular Cleaning: Use a damp cloth to wipe down the tiles regularly. Avoid abrasive cleaners that could scratch the surface.
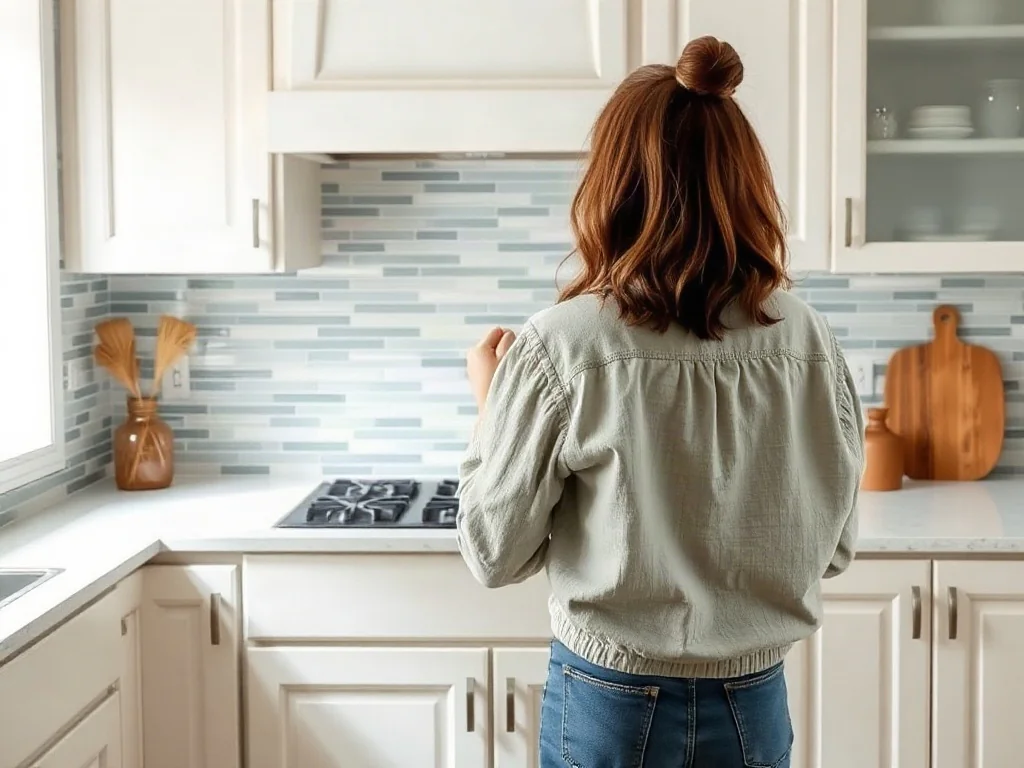
- Avoid Excessive Heat and Moisture: Be cautious around hot appliances like stoves, as high heat can affect the adhesive.
- Check for Damage: Periodically inspect the tiles for any signs of peeling or damage, and replace any tiles as needed.
Frequently Asked Questions
What surfaces can I install peel-and-stick backsplash tiles on?
Peel-and-stick tiles can be installed on most flat, clean surfaces, including drywall, painted walls, and smooth surfaces. Avoid textured walls or surfaces that may not allow for proper adhesion.
How long do peel-and-stick backsplash tiles last?
The lifespan of peel-and-stick backsplash tiles can vary based on the brand and environmental factors. Generally, they can last anywhere from 3 to 10 years, depending on care and exposure to heat and moisture.
Can I remove peel-and-stick backsplash tiles without damaging the wall?
Yes, most peel-and-stick tiles are designed to be removable. However, it’s essential to follow the manufacturer’s instructions to minimize the risk of damaging the underlying wall.
See More Articles on Our Website :Are Peel-and-Stick Backsplash Tiles Worth It?
Conclusion
Installing peel-and-stick backsplash tiles is an affordable and straightforward way to enhance your kitchen or bathroom. By following this guide, you will not only transform your space but also gain valuable DIY skills that can help you save money in the long run. Have you considered trying this project? Share your thoughts and experiences in the comments below!
With the right preparation and careful execution, you can achieve a beautiful and functional backsplash that reflects your personal style. Happy decorating!

Ana Sabrina Viana is the creator and author of the blog *Fix My Home & Garden*, where she shares practical tips, inspiration, and solutions for home and garden maintenance, organization, décor, and care. Passionate about creating functional and welcoming environments, she produces content that helps readers transform their spaces in simple, accessible, and creative ways.